How to blend contour makeup for a seamless look

Estimate Cost : EUR
Time Needed : 10 minutes
Contouring is all about defining and enhancing your facial features, but we know that attempting to apply contour for the first time might be a little intimidating. Here’s a beginner-friendly guide to sculpting your face like a pro.
- Perfect your base
Apply your foundation and concealer as you normally would to even out your skin tone and conceal any blemishes, redness or dark circles.
- Shade
Grab a concealer in one to two shades darker than your actual skin tone — you’ll use it to enhance the angles of your face, creating a shadow. Start contouring by applying the darker shade onto the parts of your face you wish to define, like along the sides of your nose and jaw, just under hairline and cheekbones.
- Highlight
Take concealer that’s one to two shades lighter than your skin tone — a lightweight, blendable formula will work best here. Apply a few dots to the high points of your face that naturally reflect light such as the bridge and tip of your nose, forehead, cupid’s bow and tops of your cheekbones.
- Blend, blend, blend
Blend out your look using a brush or beauty blender until you’ve diffused all the harsh lines. This will ensure a perfectly seamless finish.
Materials
The perfect concealer for contouring
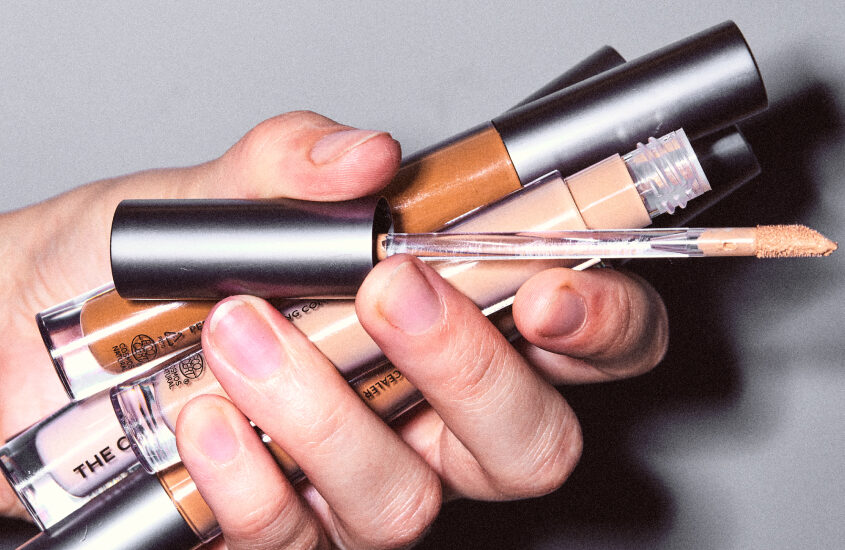
If you’re looking for a multi-use product, try the MÁDARA Luminous Perfecting Concealer. Not only does it conceal imperfections but also works beautifully to contour the face. The creamy formula with skin-nourishing ingredients blends effortlessly to define and brighten your skin, creating a soft sculpted look.


